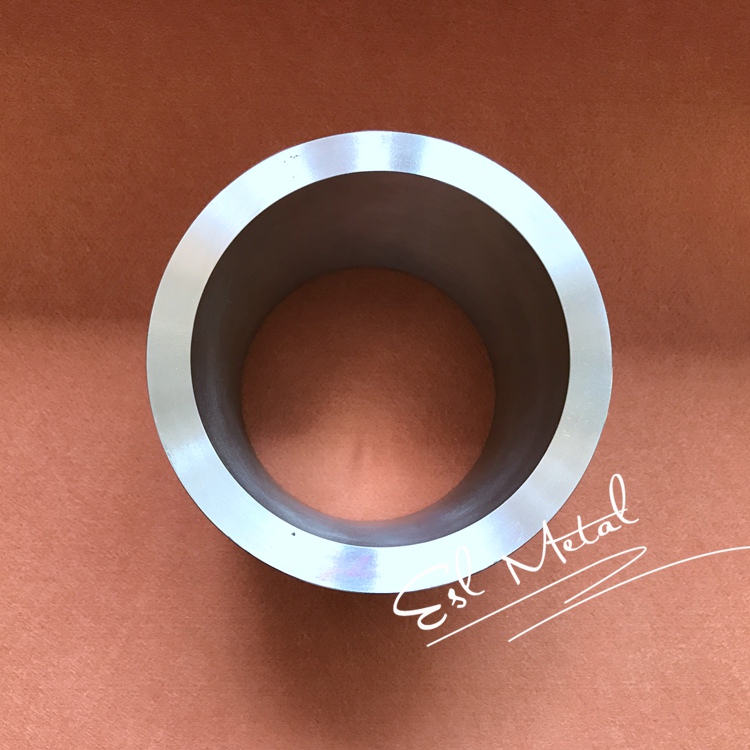
Workpiece deformation in machining is a difficult problem to solve. Firstly, the causes of deformation must be analyzed before countermeasures can be taken.
1. The material and structure of the workpiece will affect the deformation of the workpiece
The amount of deformation is closely related to the complexity of shape, length width ratio and wall thickness, as well as the rigidity and stability of material. Therefore, when designing parts, these parameters should be optimized as much as possible to reduce the influence of these factors on workpiece deformation.
Especially in the structure of large parts, the structure should be reasonable. Before processing, the hardness, looseness and other defects of the blank should also be strictly controlled to ensure the quality of the blank and reduce the deformation of the workpiece.
2. Deformation caused by workpiece clamping
When clamping the workpiece, first select the correct clamping point, and then select the appropriate clamping force according to the position of the clamping point. Therefore, the clamping point shall be consistent with the support point as far as possible to make the clamping force act on the support. The clamping point shall be as close to the machining surface as possible, and the position where the force is not easy to cause clamping deformation shall be selected.
When there are clamping forces acting in several directions on the workpiece, the sequence of clamping forces shall be considered. For making the workpiece contact with the support, the clamping force shall act first and should not be too large. For the main clamping force to balance the cutting force, it shall act last.
Secondly, the contact area between the workpiece and the fixture should be increased or the axial clamping force should be adopted. Increasing the rigidity of parts is an effective way to solve the clamping deformation. However, due to the shape and structure characteristics of thin-walled parts, they have low rigidity. In this way, deformation will occur under the action of clamping force.
Increasing the contact area between workpiece and fixture can effectively reduce the deformation of workpiece during clamping. For example, when milling thin-walled parts, elastic pressing plates are widely used in order to increase the stress area of the contact parts. When turning the inner diameter and outer circle of the thin-walled sleeve, whether using a simple open transition ring, or using an elastic mandrel and a whole arc claw, the contact area during workpiece clamping is increased. This method is conducive to bearing the clamping force, so as to avoid the deformation of parts.
The axial clamping force is also widely used in production. The design and manufacture of special fixture can make the clamping force act on the end face and solve the bending deformation of the workpiece caused by the thin wall and poor rigidity of the workpiece.
3. Deformation caused by workpiece processing
In the cutting process, due to the action of cutting force, the workpiece produces elastic deformation in the direction of force, which is what we often call the phenomenon of cutting. Corresponding measures shall be taken for such deformation on the tool. During finishing, the tool shall be sharp, which can reduce the resistance formed by the friction between the tool and the workpiece on the one hand, and improve the heat dissipation capacity of the tool when cutting the workpiece on the other hand, so as to reduce the residual internal stress on the workpiece.
For example, when milling the large plane of thin-walled parts, the single edge milling method is used, and the tool parameters select a large main deflection angle and a large rake angle in order to reduce the cutting resistance. Because the cutting tool is light and fast, it reduces the deformation of thin-walled parts and is widely used in production.
The deformation of thin-walled parts during turning is multifaceted. The clamping force when clamping the workpiece, the cutting force when cutting the workpiece, and the elastic deformation and plastic deformation when the workpiece hinders the cutting tool, resulting in thermal deformation due to the increase of the temperature in the cutting area. Therefore, in rough machining, the back feed and feed can be larger; During finish machining, the tool amount is generally 0.2 ~ 0.5mm, the feed rate is generally 0.1 ~ 0.2mm/r, or even less, and the cutting speed is 6 ~ 120m / min. during finish machining, the cutting speed shall be as high as possible, but not too high. Reasonably select the cutting parameters, so as to reduce the deformation of parts.
4. Stress and deformation after processing
After rough machining, there is internal stress in the part itself. These internal stress distributions are in a relatively balanced state, and the shape of the parts is relatively stable in the short term. However, after heat treatment and finishing to remove some materials, the internal stress changes. At this time, the workpiece needs to reach the stress balance again, so the shape is easy to change to a certain extent in a certain period of time. This is also the typical reason why some workpieces deform and crack during storage and service after delivery.
In the field of aerospace, "thin-walled parts" are often "parts that are easy to deform after machining and can restore the geometry after assembly". Generally, the ratio of its main dimension to wall thickness is not less than 50. The "thin-walled workpiece" or "thin-walled workpiece" meeting the above conditions can be included in the processing range of modal broadband aging.
Compared with the traditional thermal aging, modal broadband aging integrates residual stress simulation, modal dynamic stress simulation, residual stress detection, on-line modal analysis and fixture design. It plays an obvious role in solving the problems of delayed deformation and fatigue crack after product delivery, and can effectively improve the stability and reliability after product delivery.
The time required for modal broadband aging is short and energy-saving. The excitation frequency range can reach 0 ~ 3000hz. It is suitable for small and medium-sized plates, discs, rings, frames and other workpieces. It also has a good application effect for parts with high rigidity and high modal frequency. Because of its high frequency and low dynamic stress, it basically has no direct impact on the part itself. It can be applied to solve the stress relief problem of small and light thin-walled workpieces, and fill the blank of stress relief means after semi precision machining of thin-walled workpieces.
To sum up, for light-weight thin-walled workpieces that are easy to deform, corresponding countermeasures should be adopted in blank and processing technology, combined with appropriate stress relief and aging methods, so as to avoid the internal stress concentration after the finished product to the greatest extent, and avoid the delayed deformation and cracking of the finished product in storage and service stage.


